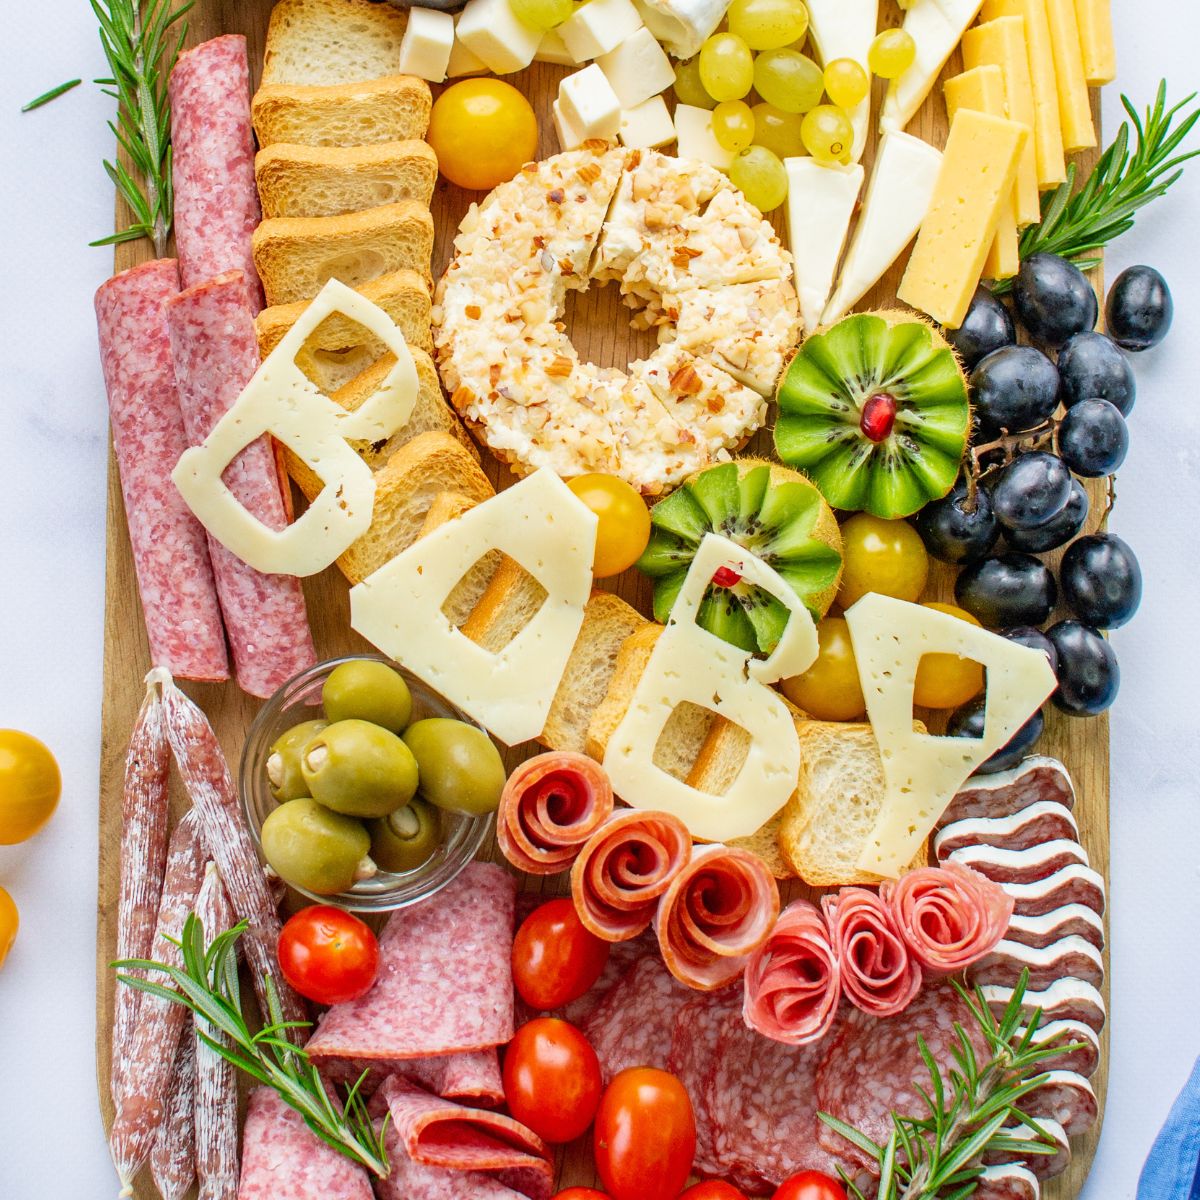
A charcuterie board for baby shower is almost essential. It is easy to assemble and looks great not only for baby showers, but for any type of celebration. Besides their aesthetic appeal, you can serve multiple food delicacies to a large number of guests. It’s an economical way to serve many guests, and you can add many items to your board without needing too much preparation. If you love charcuterie and need another event idea, check out how to make a new year’s charcuterie board.
Arranging a charcuterie board is an art. You must balance colors, textures, and tastes. By definition, it’s an assembly of different cheeses, cured meat, fresh fruits, vegetables, breads, and condiments. The endless variety allows you to choose according to you and your guests’ tastes.
Table of Contents
Selecting Cheese for the Perfect Charcuterie Board for Baby Shower?
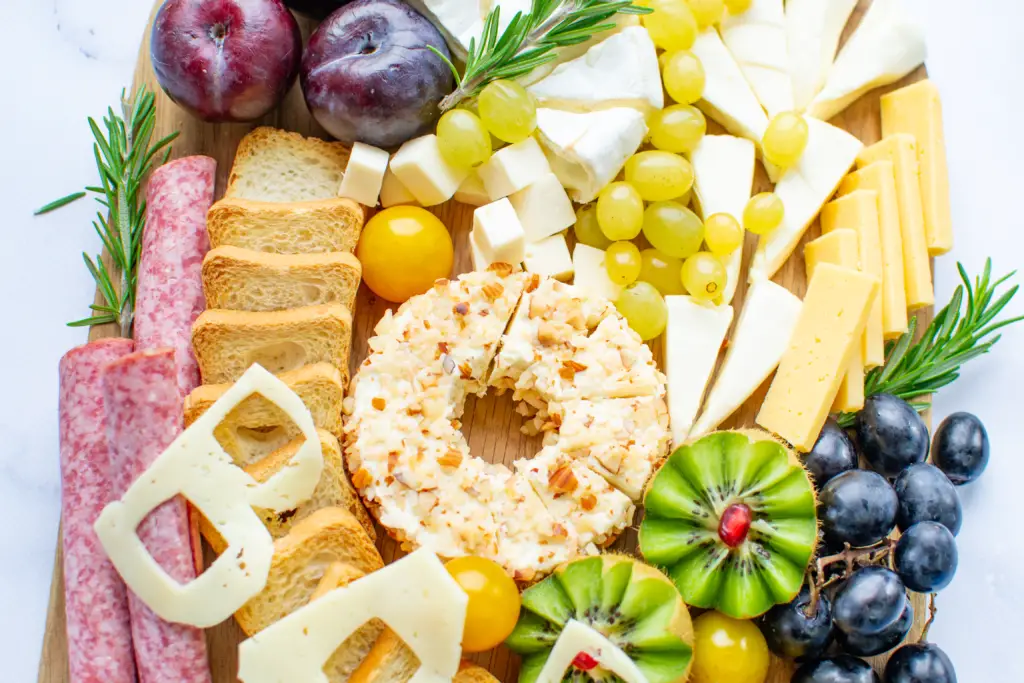
For cheese selection, you can go for three to four types of cheese. It is essential to balance the texture and shapes on board, so you should select hard, semi-firm, and soft cheeses. Different textures of cheese appeal to a broad range of taste buds. Soft cheeses like camembert and brie go well in the center. You can use gouda and cheddar to add some colors to the board.
You can choose personal favorites when it comes to choosing cheese. For more details, read our guide on choosing the right cheese for charcuterie. Generally, you should choose three types of cheese and cut them in different ways.
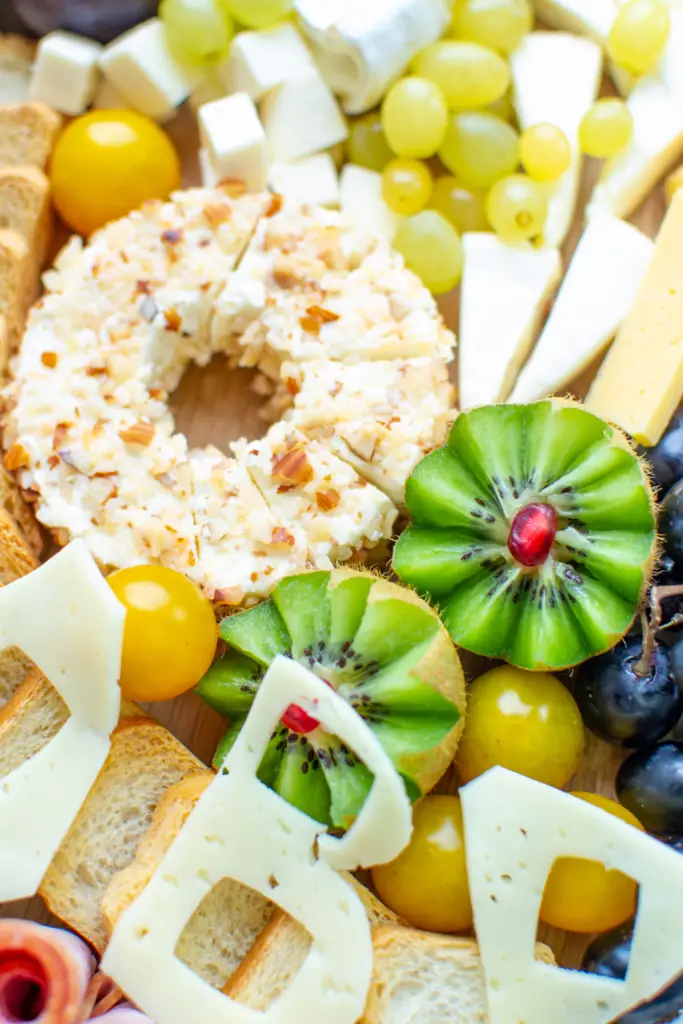
We used the camembert cheese as a centerpiece on board. It has a rich creamy texture and with melba toast around it, guests can help themselves with a dollop of cheese on the toast or cured meat slices. Brie cheese is used as a half wheel with edges to create a round centerpiece, a half wheel, and some small cubes fill in the spaces. With beautiful triangular wedges, you can create a beautiful floral pattern on the board. We chose cheddar cheese, gouda, camembert, and brie for the board.
Including the Best Fruits and Vegetables
Fruits look beautiful and add a lot of sweet and tangy flavors on the board. You can choose any of your favorite fruits that are in your budget or simply select seasonal fruits that look appealing on your charcuterie board for baby shower. Some bigger fruits, like plums, look great on board. Green olives add a splash of color on the board and go very well with mild cheese and cured meat.
Small fruits like grapes of different colors look appealing and are especially useful for filling in small spaces. We used green and purple grapes. We just love the rich purple color of the plums, and they add a sweet and tangy taste for guests who enjoy stone fruit. Finally, a couple of carved ‘kiwi flowers’ enhances the beauty of the charcuterie board for baby showers.
How to Carve a Flower out of a Kiwi Fruit
- Use a knife to cut both ends of the kiwi fruit.
- Insert the knife end into the center of the kiwi and draw a diagonal line.
- Keep inserting lines into the kiwi all around.
- Use both hands and pull it apart; it will separate as two small kiwi flowers.
- For an added touch, you can place a single pomegranate seed in the center of each kiwi flower.
We only have a few vegetables on our charcuterie board for baby shower. Some cute cherry and grape tomatoes sprinkle color on the board and are used to fill in some spaces between the cured meat slices.
Choosing and Arranging Meats
Cured meat is an essential part of charcuterie boards for baby shower. You can choose any type of deli or cured meat slices.
Genoa Salami
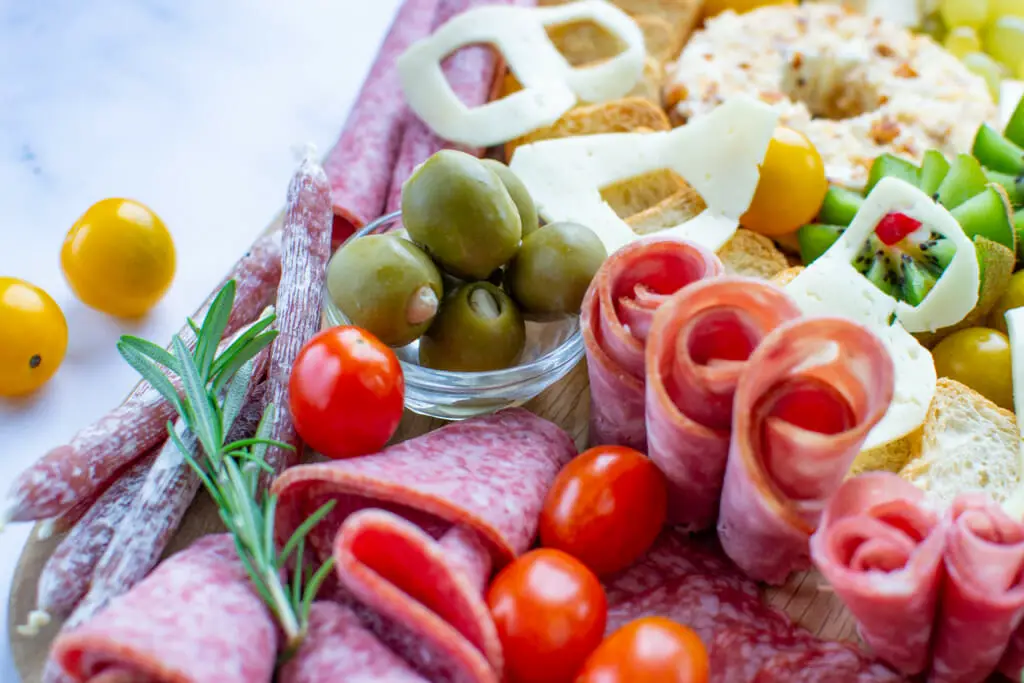
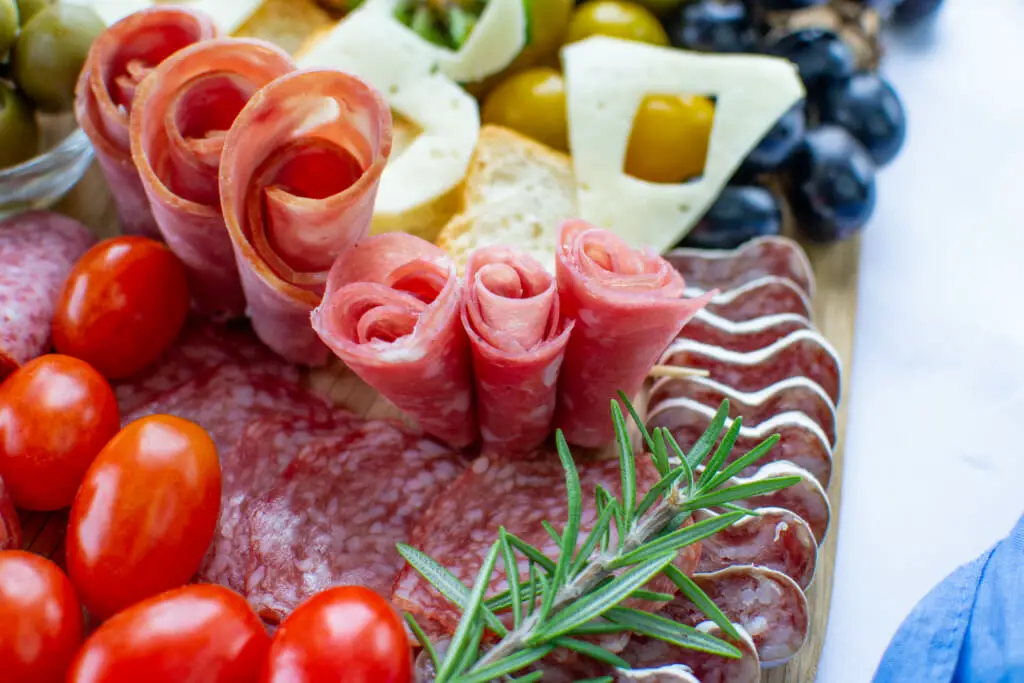
Salami is a dried and cured meat that is spicy. Salami slices are great to be folded into small rosettes or you can roll them into other shapes. It appeals to the taste buds and provides a floral freshness to the board. We laid some salami slices flat in a round shape, and we chose to fold and roll other slices.
Pepperoni
Pepperoni is another type of deli meat that is very popular for charcuterie boards. The thin slices go very well with different types of cheeses and add a savory taste to your board. You can put round pepperoni slices on the board as-is, or fold them two or three times and arrange them on the board with your other meats.
Hard Salami
Hard salami sausages are made from pork that is dry-cured with garlic and lots of seasoning. You can purchase this pre-sliced or slice your own whole sausage. We love that this spicy sausage adds a kick to the board. We cut our own hard salami slices and lined them on one corner.
Make sure to play with the shape arrangements and fold or roll your salami into a variety of shapes for the best aesthetic. We added some salami sticks on the side of the charcuterie board for an extra special something to fill in the space. Now, if you’re looking to avoid pork, check out our guide for charcuterie with no pork, which can be equally delicious and fitting for any gathering.
Adding the Best Breads and Crackers
Bread and crackers are an essential part of the charcuterie board. You can use normal wheat crackers or simple baguette slices for a charcuterie board. We have selected melba toast, which is delightfully crunchy to contrast the soft, spreadable Camembert and Brie. You can also slice a baguette, which is a French bread loaf. It’s crisp from the outside with a moist and light texture inside.
How To Cut B-A-B-Y Cheese Shapes on Your Charcuterie Board for Baby Shower
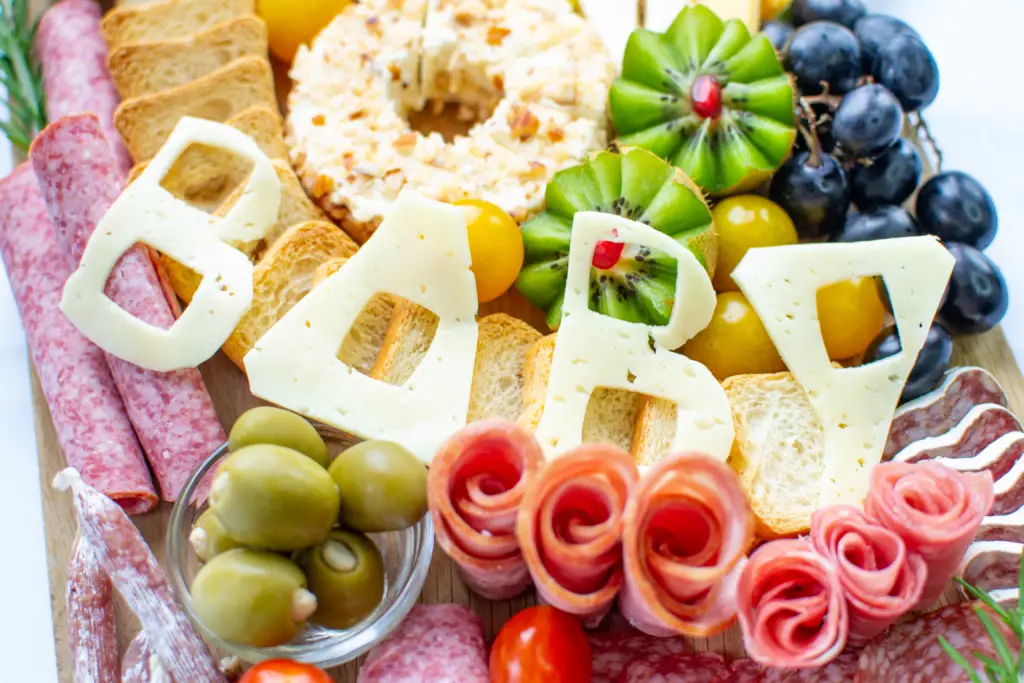
The last touch on your charcuterie board for baby shower is adding your B-A-B-Y letters cut from the cheese slices. You can use alphabet cookie cutters if you have them available, or you can simply use a sharp paring knife.
Be sure to use thick-sliced, semi-hard, square-shaped deli cheese. You can take a Havarti cheese block and use a sharp knife to cut thick slices, or order thick-sliced cheese from your local deli. Use the alphabet cutter or paring knife to cut your letters. Once the rest of the charcuterie is arranged, add your letters. We find that this adds a lovely personal touch to the charcuterie. Be sure to serve your charcuterie immediately.
Needed Equipment
For this charcuterie board for baby shower, I used the toast as a border to divide the meats from the cheeses. With this kind of arrangement, it’s best to use a rectangular board. Wood boards are the most beautiful kind of board for charcuterie, but they need to be protected in case of any grease or spills. I prepare my boards with this oil and wax kit to prolong their life and ensure that I can use them again in future events.
Small Bowl or Ramekin: Grab a glass bowl and fill it with olives! You can also use small bowls or ramekins to include sauces, dips, or jams in a small bowl.
Knives: In addition to knives for cutting your cheeses and kiwi fruits, make sure you have a cheese spreader or two for guests to spread creamy cheese on crackers, fruits, or meat slices.
Recipe
See below for our guide to creating the perfect charcuterie board for baby shower!
Print
Charcuterie Board for Baby Shower
Description
Charcuterie makes an excellent snack for any party. Feel free to swap some ingredients for some of your own favorites: the best thing about charcuterie is the endless variety! This charcuterie board for baby shower will surely please everyone at your next party.
Ingredients
- 1 (8-ounce) Camembert wheel, wedged
- 1 pack mini toasts (or 1 baguette, sliced)
- ½ cup stuffed olives
- 2 kiwi flowers
- 3 Whole Red Plums
- 2 (8-ounce) bunches green and purple grapes
- 8 ounces cheddar cheese, cubed
- 1 (8-ounce) brie wheel, wedged and separated
- 2 ounces whole yellow cherry tomatoes
- 6 ounces gouda cheese, sliced
- 12 ounces deli meat (I used pepperoni, hard, and Genoa salami)
- 4–6 whole salami sticks
- 2 ounces whole red grape tomatoes
- 4 deli slices cheese (I used havarti), cut into the shape of letters B-A-B-Y
- Fresh rosemary, to garnish (optional)
Instructions
- Prepare a rectangular, wooden cutting board with food-safe wax to protect the board.
-
Put the camembert cheese in the center, keeping the wedges close together.
-
Arrange the mini toasts (or baguette slices) across the board from the top left to bottom right, curving around the camembert. The toast divides the board into two sections.
-
Arrange the sweet fruit, yellow cherry tomatoes, and cheese on the top-right half board above the toast.
-
Arrange the meats, grape tomatoes, and olives across the lower-left half of the board. For a special touch, consider folding salami into the shape of a rose.
-
Place the B-A-B-Y cheese slices across the top of the toast, and garnish the tray with rosemary (if desired).
-
Serve immediately.
