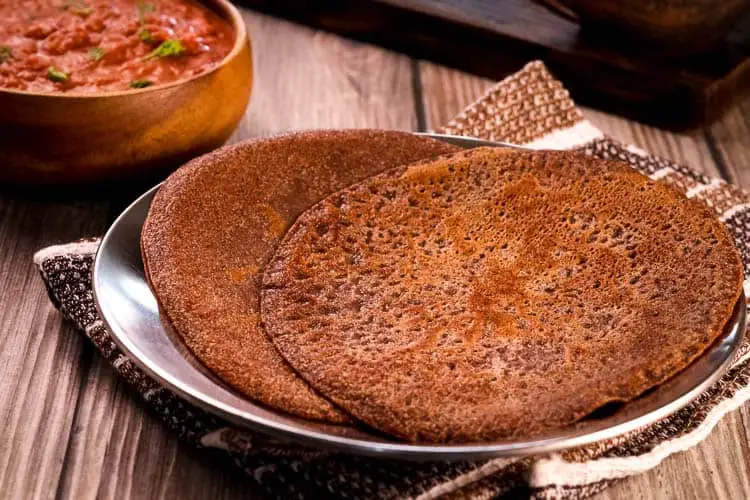
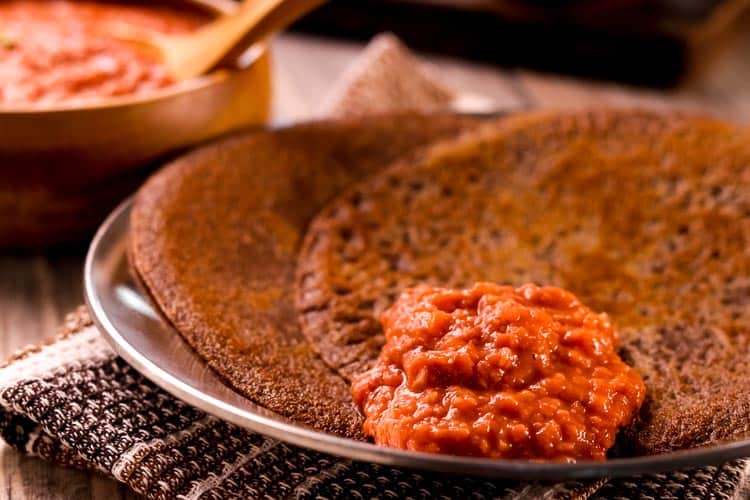
Injera is the soft, bubbly, pancake-like flatbread that’s the first and last word in Ethiopian cuisine. Made from the country’s indigenous teff flour, injera has a very particular sourdough taste that comes from the fermentation process of the batter used to make the bread.
Perfect for absorbing the rich flavors of the country’s saucy culinary arsenal, injera is a kind of sponge-mop best eaten when thoroughly soaked through with sauce. As such, we’ve decided to pair our injera with misr wat, a lentil stew spiced with Ethiopia’s prime condiment – berbere.
TEFF, ETHIOPIA’S ANCIENT GRAIN
Injera’s main ingredient teff is an ancient grain in an ancient country. It’s possible that it was being farmed as far back as 5,000 years ago, when the earliest agricultural societies were putting spade to soil around the area of the Ethiopian plateau, though there is no real archaeological confirmation of the use of teff for the production of injera until the first few centuries AD.
Excavations in the 1970s unearthed a collection of clay mitads, the large, round skillets used to make injera. Dating back to around the 5th-6th centuries AD, these were over a foot in diameter and shaped like the modern mitads – round and flat with raised edges.
THE LITTLE GRAIN THAT COULD
Teff is tiny. Measuring about 1mm across, it’s the smallest grain in the world, and one of the fastest to cook. It’s also a sturdy little grain, notorious for its ability to grow pretty much anywhere – from wet to dry climates, and in highlands or lowlands. This, in addition to having the immune system of a hardy ox: teff is much less susceptible to disease than other grass plants.
Teff is also packed with enough nutrients to rival quinoa and chia seeds on the shelves of our western health food stores: packing in a lot of manganese as well as well as moderate amounts of thiamin, zinc, iron, magnesium and phosphorus, teff flour supposedly provides two-thirds of Ethiopians with their daily protein needs.
And as if this litany of accolades wasn’t enough, teff is also gluten-free. For our particular recipe, we’ve added wheat flour to the mix to lend more pull, bite and elasticity to the dough, but it’s absolutely not necessary to do so, and it’s worth bearing in mind that the most authentic injera breads in Ethiopia are made from 100% teff flour. Being low on the glycemic index, it’s also a good food for people with type 2 diabetes.

TEFF ON HOLD
What’s curious is that despite teff’s glowing CV, it’s actually grown in very few places in the world – with a few exceptions, pretty much only in Ethiopia. And with Ethiopian cuisine gaining traction as a popular ethnic food in the west, the global demand for teff rose so sharply that in 2006, the Ethiopian government was forced to put a ban on all teff seeds and teff flour leaving the country.
They were trying to avoid the same problem that occurred in Bolivia when quinoa became a fashionable food and demand made local prices of the go up by ten times their original amount. The good news is that as of 2016, after an increase of 50% in teff yields, Ethoipia has restarted controlled exports of the grain again, and to boot, teff can now also be found growing in pockets of the United States.
ABOUT THE RECIPE
As we mentioned before, we decided to go with a 50/50 mixture of teff and wheat flour for our injera, just to add a little more elasticity to the bread. But if you prefer to go all teff, you have our blessing!
Bear in mind you need to prepare your injera mixture ahead of time and allow it to ferment for a day or two, so plan ahead for when you want to make it. How long you leave it to ferment is up to you: once you start to see bubbles rising, you’ll know the process is underway. Then, the longer you leave it, the stronger the sour taste of the dough will be.
BUILT-IN YEAST
The reason this fermentation occurs is that teff flour actually has a symbiotic yeast that grows on it and that is the element that ferments when the grain is soaked in water. Which is why you don’t need to add yeast to this bread! Beware, however, there is such a thing as over-fermentation where the taste will simply become unpalatable, so use your nose to know when the time’s right: a good rule of thumb is not to leave the mixture for more than three days.
There is also an informal rule in Ethiopia at the bowl used for fermenting the injera never be washed properly, but only partially, so that the fermentation will happen more easily the next time around.
In Ethiopia, teff is usually prepared in a very wide mitad and the bread is then folded onto a plate and topped with various curried dishes whose flavors soak into the pores of the injera. For our purposes, we made the injera a little smaller, as Santa has yet to bring us the two-foot non-stick skillet of our dreams. We’ve also decided to keep things simple by just cooking up a misr wat – a traditional red lentil stew. It’s delicious in its own right, and the perfect showcase for berbere, Ethiopia’s catch-all spice that goes perfectly with the flavor of injera.
PREPARE THE INGREDIENTS
A couple of days before you want to eat your injera, you need to prepare the batter for the dough. Weigh out your teff flour and mix with any other flour you might like to add.
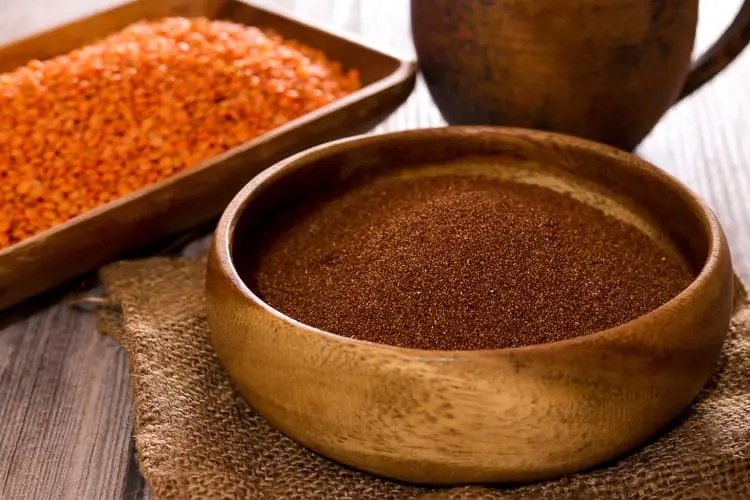
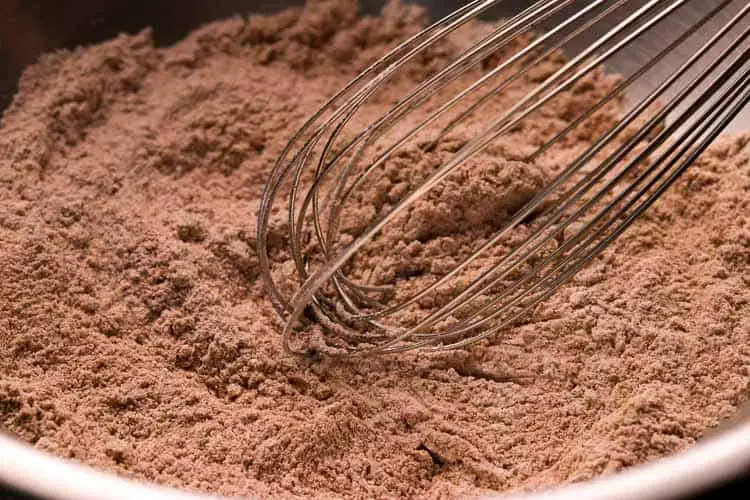
Blend the flours together with a whisk until they are evenly mixed.
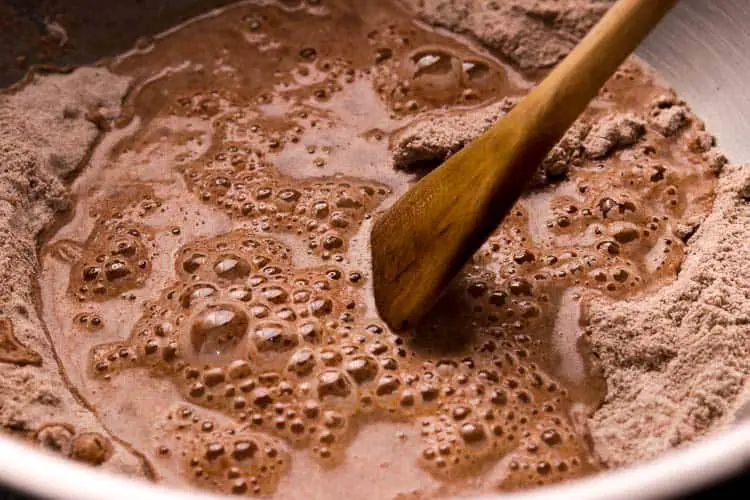
Add the water and mix well with a spoon, working out any lumps.
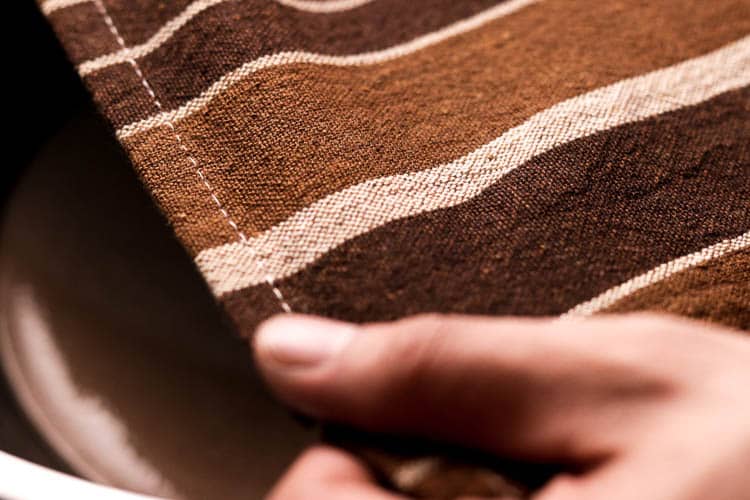
Now cover with a dishcloth and leave to ferment at room temperature for at least a night, and a maximum of three days.
MAKING MISR WAT
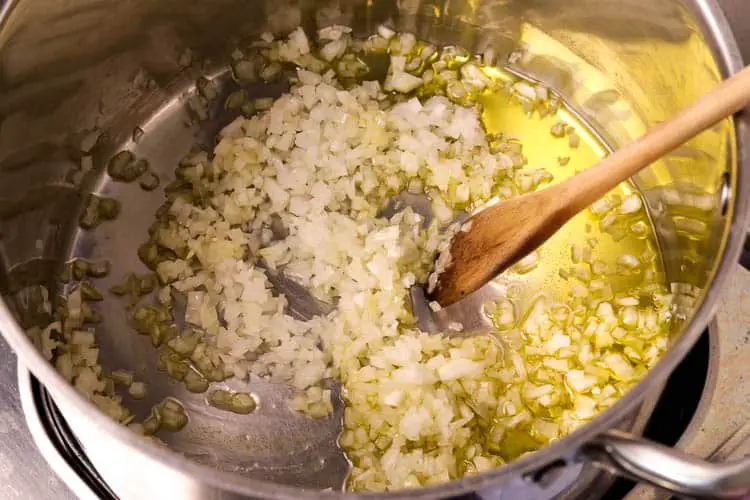
When you are ready to make your misr wat, add the chopped onions to the pan with some olive oil on a medium heat and allow them to soften.
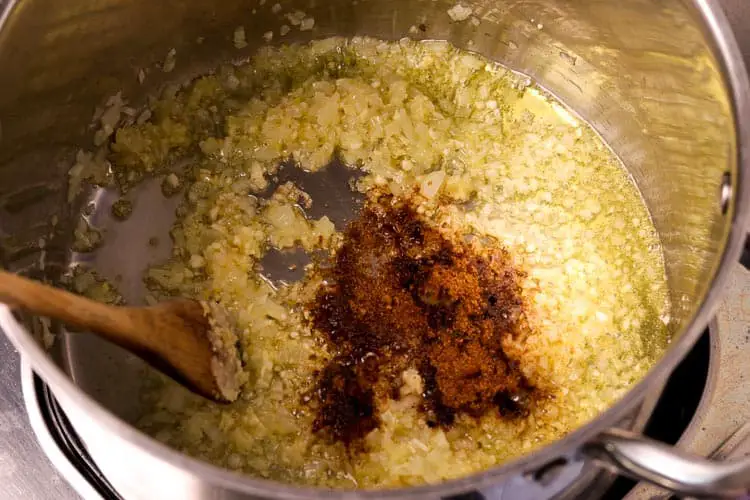
When the onions turn golden, add the garlic, ginger and berbere. Stir well to spread out the spice, and if the mixture looks like it might be getting a bit dry, don’t hesitate to add a little water.
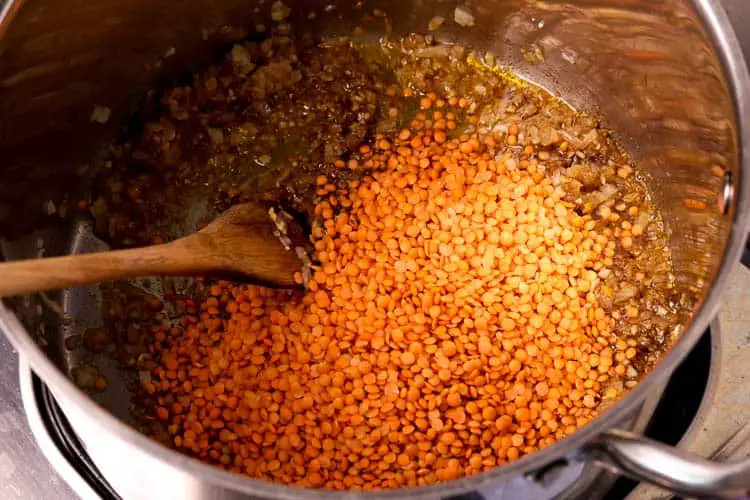
Now add the lentils and the rest of the water. Cover the pot, turn the heat down and simmer for 20-30 minutes.
Once the lentils are creamy, give them another stir, add a knob of butter and/or some coconut cream for ramped up creaminess.

FRYING INJERA
Once your injera batter has fermented sufficiently, you can uncover it and give it a very thorough stir. Some people like to skim the bubbles off the top of the liquid, but we mixed ours in.
Prepare a non-stick pan with a little oil. Allow the pan to heat up on a medium heat, and then pour in about a quarter-cup of the mixture. Watch for the thickness of your injera – you want to aim for the territory in between a French crêpe and an American pancake.
Bubbles will start to form as the injera heats up. Monitor it closely, and when the edges of the injera can be lifted from the pan, your injera is ready to go. Take it out immediately with a spatula, as it could overcook or burn very quickly.
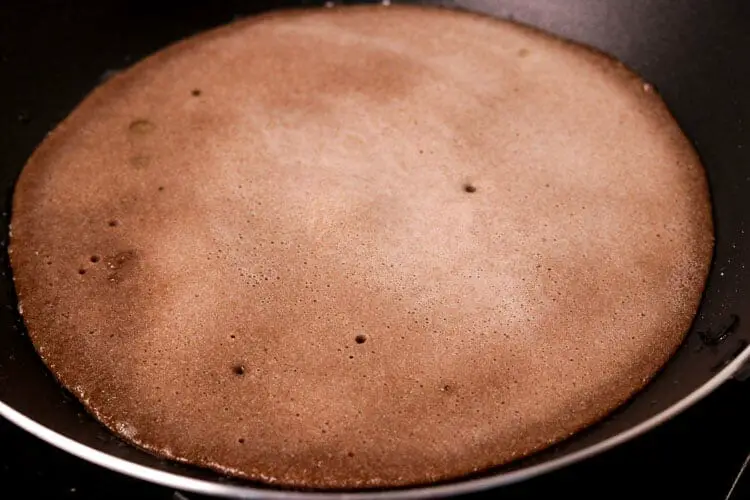
Keep frying injera until you finished the batter, and you can pile them up on a plate like pancakes. Make sure your misr wat is nice and hot and good to go, then serve the two together. Knives and forks are optional, but discouraged. A true injera meal involves using the bread as your eating utensil: rip pieces off it and scoop up the misr wat for optimum injera satisfaction.
Mälkam məgəb!
OUR TAKE ON THE RECIPE
This injera gets a very definite nod of approval from our test kitchen. The slightly sour note from the fermentation of the dough gave the bread a cheese-like flavor. This may not be pleasing to everyone, but we personally love it. The texture of the injera turned out quite bouncy and airy, which we think is a good thing with most breads.
If we were to make our injera again, we might try experimenting with 100% teff flour, or with adding something else rather than wheat flour like all-purpose gluten-free flour to keep the bread without gluten. We also thought of adding some cumin to the mix, as we have a hunch it’d go really well with the sourdough flavor.

A little more or a little less water in the batter mixture could go a long way to making a big difference to the feel and texture of the bread, so it’s important to be precise. A non-stick pan is also essential for frying the injera as it would be impossible to keep in one piece otherwise. And the bigger the pan, the better!
Injera Spongy Ethiopian Flatbread
Ingredients
For the Injera:
- 3 oz teff flour
- 2.5 oz grams wheat flour
- 1 cup filtered water
For the Misr Wat:
- 1 large onion, finely chopped
- 3–4 tablespoons olive oil
- 4 cloves garlic, finely chopped
- 1 tsp ginger, minced
- 1½ tbsp berbere
- 1 cup red lentils, washed
- 2 cups water
- 1 tsp butter
- 1/2 cup coconut cream or milk
- A few cilantro leaves to taste (optional)
Instructions
Prepare the injera batter
- Mix the teff flour with the wheat flour with a whisk to blend together evenly.
- Gradually add water to the flour and mix together until the flour slurry is smooth and lump-free.
- Leave in a bowl covered with a towel at room temperature overnight or for up to three days. Once you see bubbles at the surface of the dough mixture, you know it’s fermenting and ready to use.
Prepare the Misr Wat
- Heat pan over medium heat and add oil
- Once the oil is hot, add the diced onions and let them sweat and cook down until they start to turn golden (~10 mins)
- Add the garlic, ginger and berbere, stir well to make sure the berbere is evenly incorporated (if the mixture seems dry and starts to stick to the pan, add a tablespoon of water or oil), cook for a few minutes until fragrant.
- Add the lentils and the water, stir to incorporate everything together.
- Cover and simmer for 20-30 minutes until the water has been absorbed and the lentils are soft and easily crushed.
- Stir in a teaspoon of butter and half a cup of coconut cream, incorporate completely.
- Add cilantro, to taste.
- Keep the pan over the lowest heat setting (or just keep the pan covered) until you’re ready to serve.
Fry the injera
- Prepare a flat, nonstick pan and heat up a glug of oil over medium heat.
- Once the oil is heated, pour the injera dough mixture into the pan and cover the bottom of the pan entirely. Aim for a thickness somewhere between French crepes and American pancakes.
- Let the mixture start to bubble. The injera is ready when the edges lift from the sides of the pan.
- Remove quickly and repeat until all dough is used.
Notes
- This is a dish that is best served family style, simply transfer the lentils into a big serving bowl next to the stack of fried injera and let everyone dig in! Fork and knife are optional – traditionally injera is used as the main utensil or vessel for eating the misr wat or whatever it is being accompanied by.
