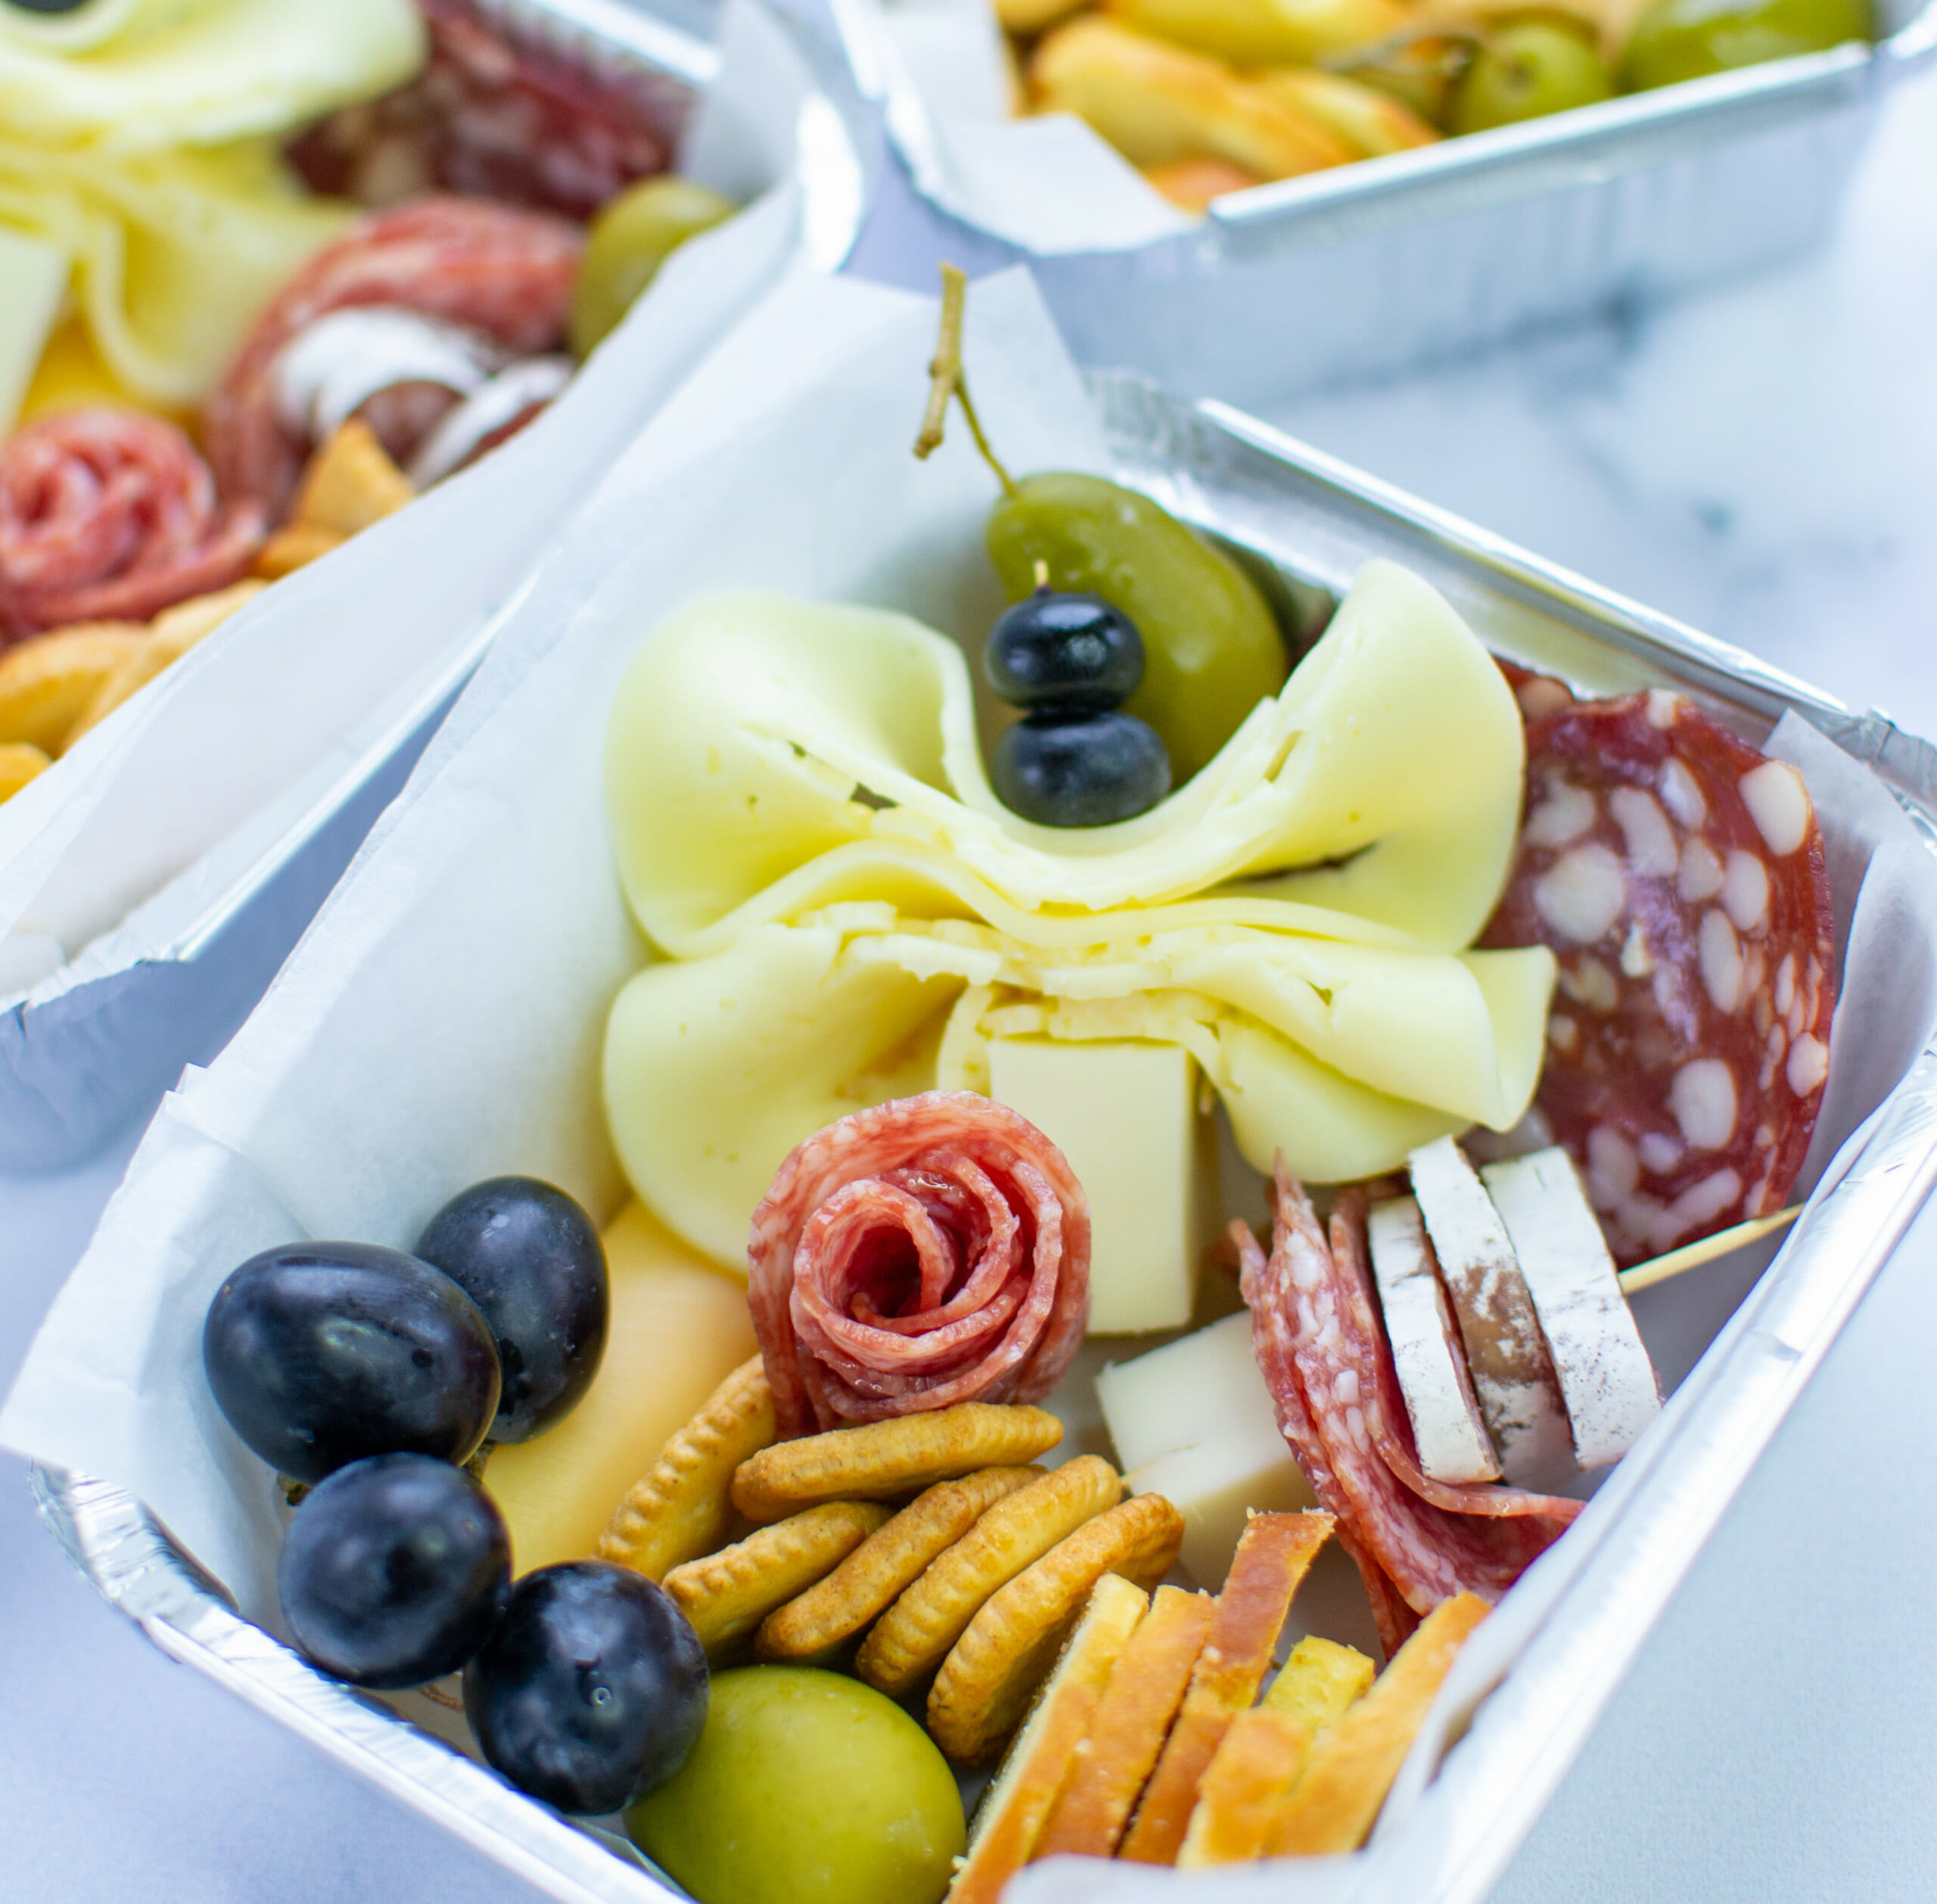
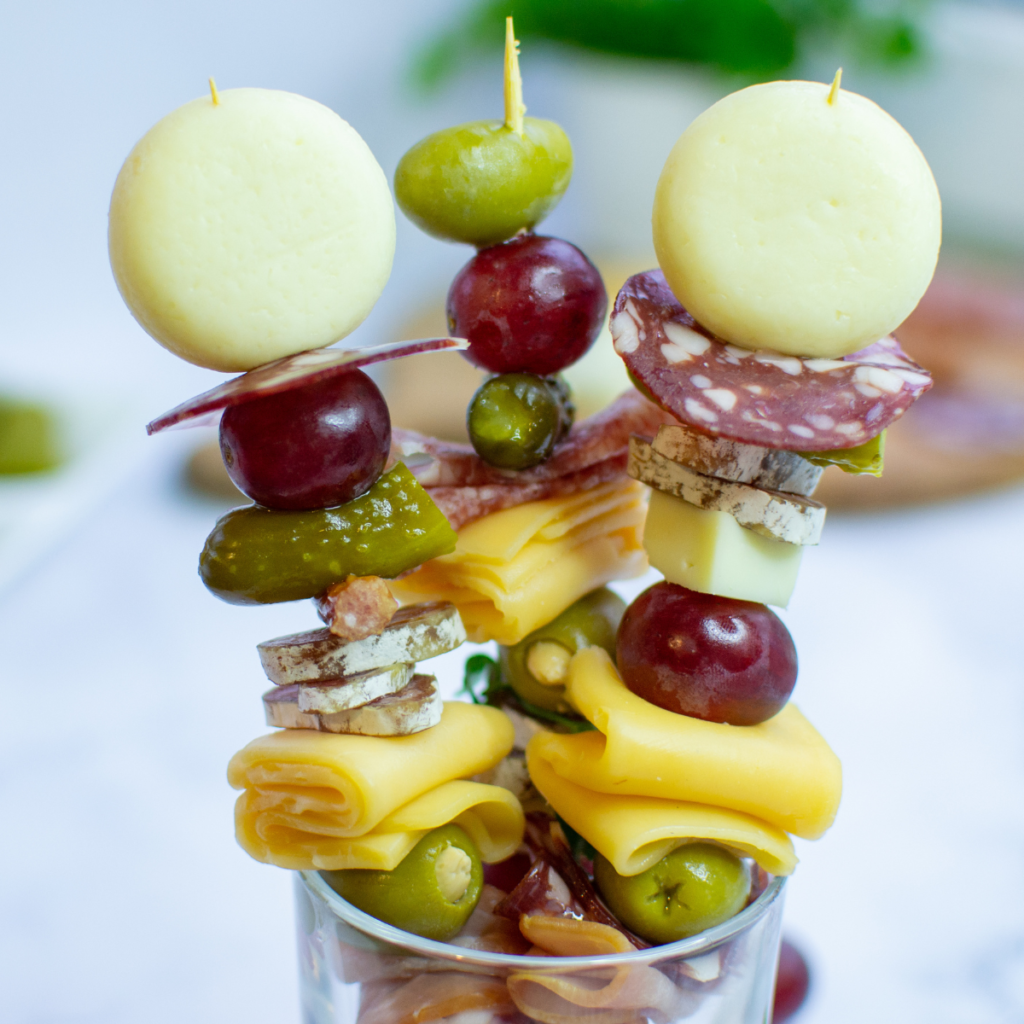
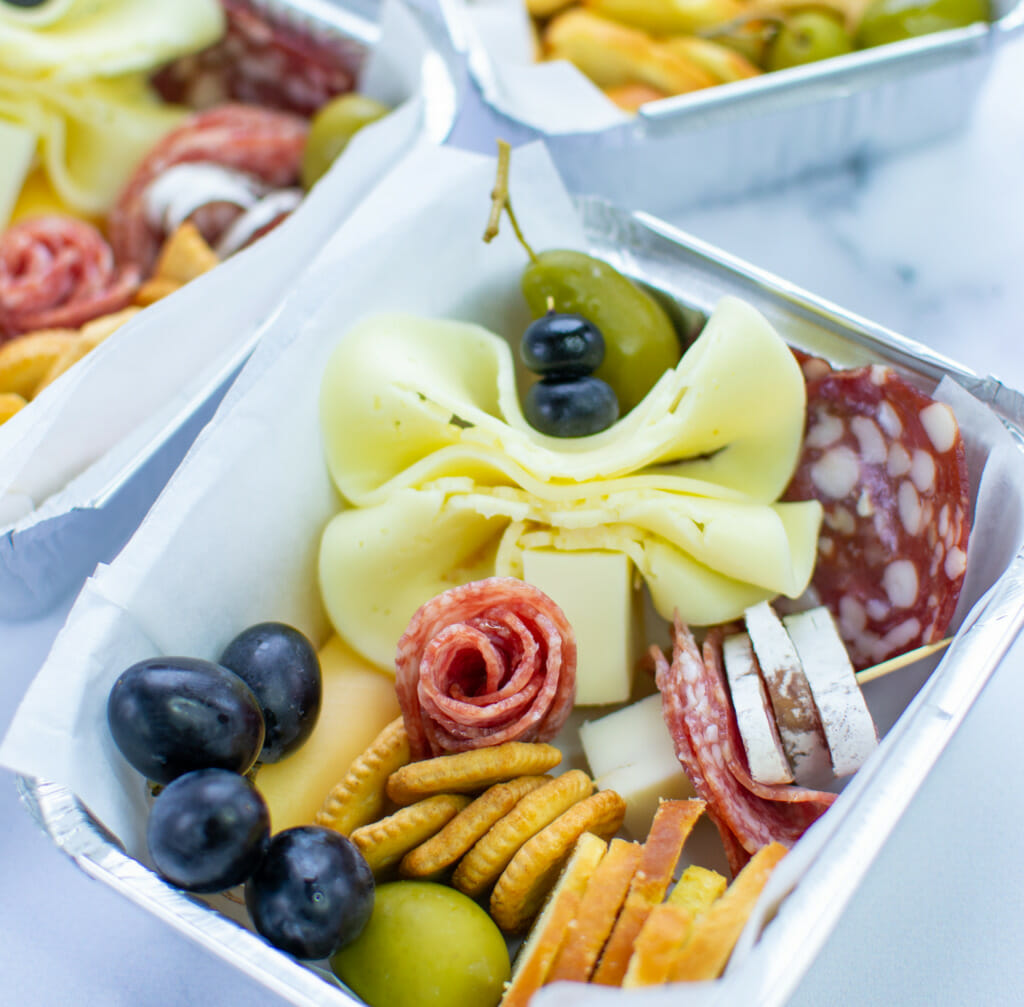
Forget the large charcuterie trays, a fun and simple way to present a variety of nibbles at your next party is with a mini charcuterie box. It’s also a fantastic choice for a healthy lunch or a snack. Let’s talk about how to best display them so you’re not just throwing everything inside a box and calling it a day.
Read on, or jump to recipe, or scroll down to see the video in action!
By the way, if you love mini charcuterie snack box, you’ll love charcuterie cones, skewers, and learn how to fold a charcuterie meat flower, or how to cut cheese for your next charcuterie.
Choose a range of meats to start, such as chorizo, prosciutto, and salami. To keep things interesting, pick a variety of tastes and textures. If you are conscious about pork, no worries we have an entire article to show you how to make charcuterie with no pork.
Add some fresh fruit, like sliced apples or pears, blueberries, grapes, and so on. The savoury meats will be countered by the fruit’s sweet and luscious flavors.
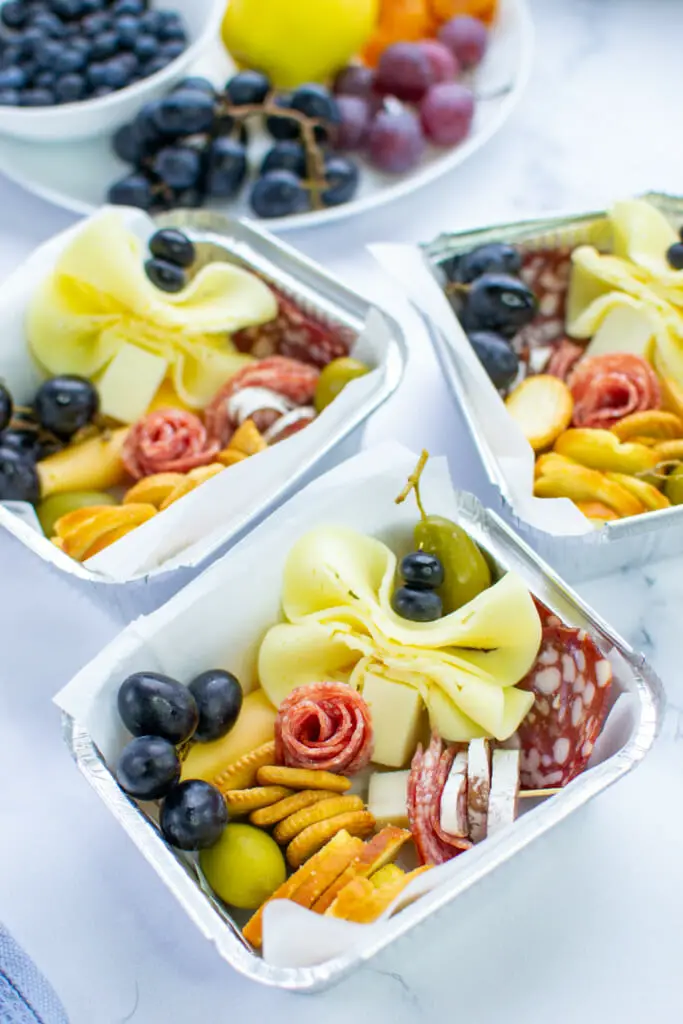
Include some crunchy foods like breadsticks, crackers, or crostini. These can be used to scoop up spreads or toppings and will offer a wonderful texture contrast. Use a combination of crunchy crackers or crostini and buttery crackers.
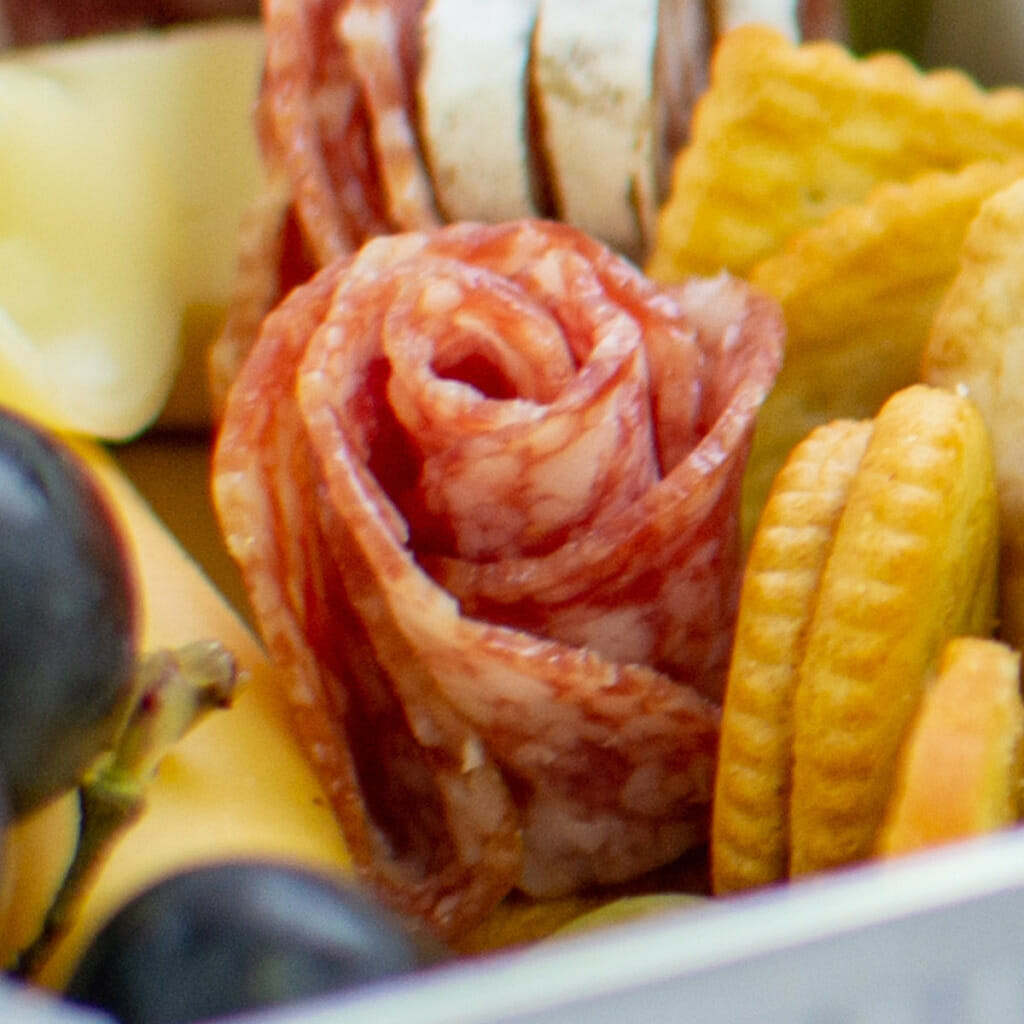
You can also make a salami rose to add a bit of elegance to your little box. To achieve this, overlap two pieces of salami together slightly, and roll it into a rose shape. Put it in the box and if needed, secure with a toothpick.
A traditional component of charcuterie boards are olives. Pick olives in a range of hues and tastes, such as green, black, and kalamata. I’m not a huge fan of olives so I use more grapes than olives for these boxes, but they’re both great! Just make sure you use the seedless ones so it’s easier to enjoy without having to worry about spitting out the seed back into the box! See also 14 best olives and how to pair them.
Any charcuterie small box would benefit from including cheddar cheese cubes in it. Gouda, brie, or goat cheese are just a few examples of the additional cheeses you might use although goat cheese might be a bit messy and falls apart too easily – I just go for cubed cheddar.
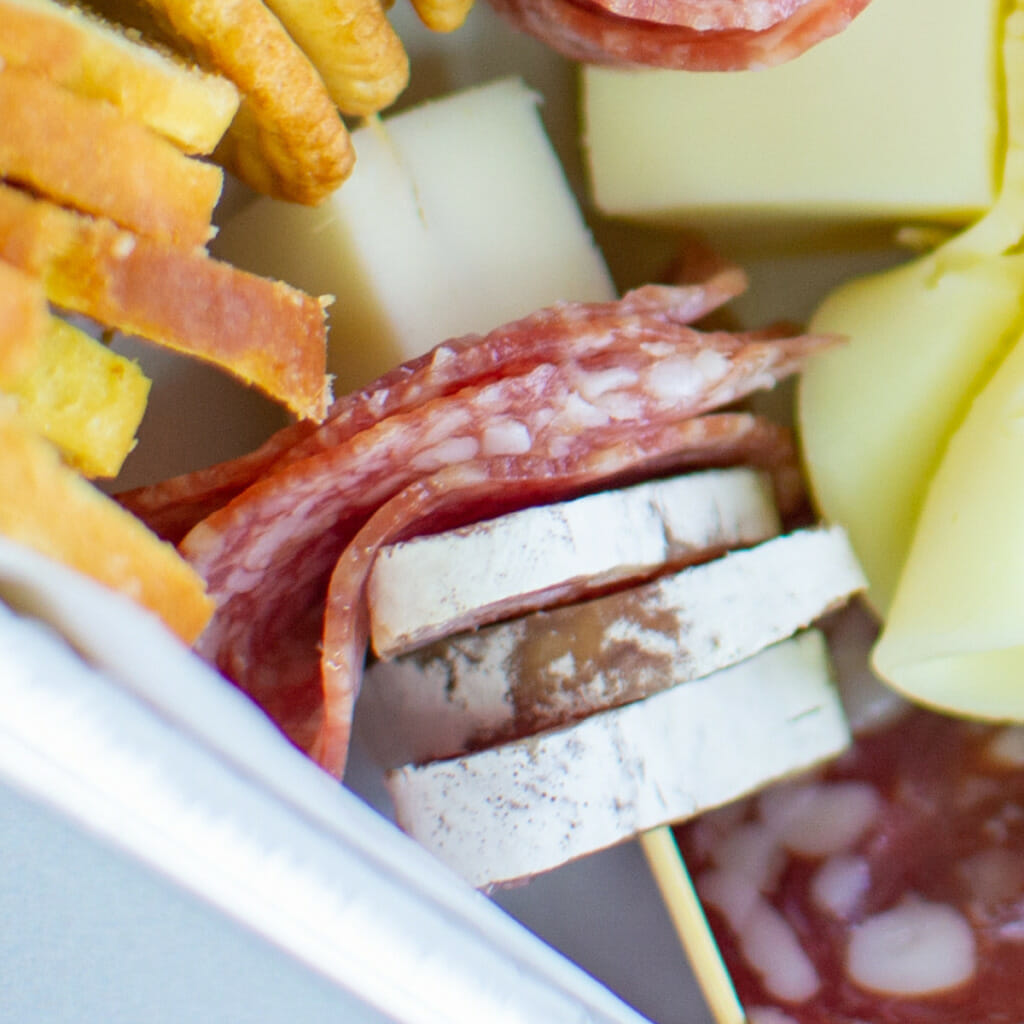
To get a good visual display, we use a toothpick here to hold them together – add some slices of salami and meat sausages at the bottom and top it with a cubed cheddar to hold it in place.
Normally for charcuterie trays or large platters I would also suggest an interesting dip, spread, or sauce. However for this box, it would be tricky to add that in so we’ll skip it. If you really want a hummus dip or guacamole dip I’ve had success trying the individually wrapped Wholly Guacamole at Whole Foods and other grocery stores.
After all the items are added to the box, sprinkle some filler items such as candied nuts, seeds, or even granola!
Enjoy your charcuterie mini box with a cold beverage!
Overall, mixing up the flavors and textures is the key to creating a fantastic charcuterie mini box. To determine what works best for you and your guests, don’t be afraid to get inventive and experiment with different components.
These 4.5 inch x 5.5inch with lids are perfect for Charcuterie Mini Boxes! Pack of 100
 Buy Now →
 (on Amazon)
Ingredients for charcuterie box
- 4 ounces of salami and pepperoni
- 4 ounces cubed cheddar
- 8 ounces of crostini and/or buttery crackers of choice
- 4 ounces of seedless olives
- 4 ounces of seedless grapes or blueberries
- 4 slices of American cheese, rolled
- 8 slices of provolone cheese, or another round cheese that’s bendable
- optional – handful of candied nuts, seeds, or granola
- 4 individual aluminum trays with clear lids, 4×6 inches
- 8 toothpicks
Video:
How to put them together:
Step 1 – arrange the toothpick skewers
This is similar to making a charcuterie skewer but at a much smaller scale. Using a toothpick, start at the bottom with meat slices, skewer 2-4 pieces of pepperoni half folded over, and top with a cubed cheddar to hold it in place. Make 4 of these for 4 mini boxes.
For the cheese butterfly – using a toothpick, start at the bottom with a cubed cheddar. Fold over round slices of provolone and skewer it right in the middle. The cheese has to be round for it to have this beautiful butterfly shape! Top with some blueberries at the top to hold the shape. Make 4 of these for 4 mini boxes.
Step 2 – add large items
Add crackers, a rolled up cheese “log” and place the toothpick skewers in. For a cool effect make some pepperoni roses by folding three slices of pepperoni in half, overlap them slightly, and roll. Secure with toothpick if necessary.
Step 3 – fill in with smaller items
Add smaller items such as grapes, olives, and more cheddar cubes.
Step 4 – optional top with nuts and seeds
Fill in the rest of the spaces, if desired, with candied nuts, seeds, or granola.
Recipe:
Print
Charcuterie Box – Individual Mini Charcuterie Snacks
Description
Easy ingredients with simple ways to display the charcuterie boxes – make simple skewers, roses, and add interesting snacks!
Ingredients
- 4 ounces of salami and pepperoni
- 4 ounces cubed cheddar
- 8 ounces of crostini and/or buttery crackers of choice
- 4 ounces of seedless olives
- 4 ounces of seedless grapes or blueberries
- 4 slices of American cheese, rolled
- 8 slices of provolone cheese
- optional – handful of candied nuts, seeds, or granola
- 4 individual aluminum trays with clear lids, 4×6 inches
- 8 toothpicks
Instructions
- Prepare toothpick skewers – thread a few slices of meat sausage, two slices of folded over pepperoni and top with a cubed cheddar to hold in place. Make 4.
- Prepare butterfly cheese – thread a cubed cheddar on toothpick, fold a slice of provolone cheese in a fan pattern and thread, then secure with some blueberries or grape at the top. Make 4.
- Roll american cheese into a log. Make 4
- Combine the items into the individual charcuterie boxes – start with small crackers and rolled up cheese “log”, then add remaining items.
- Optional – sprinkle with candied nuts, granola, or seeds of choice.
Notes
To fold the salami, pepperoni and cheese properly they need to be cold but not just-out-of-the-refrigerator cold. Take them out about 30 minutes before you want to work on them, so they are more pliable and less likely to crack or break apart when you try to fold them
